You’re about to take control of your water usage and give your plants the exact amount of moisture they need. Installing a drip irrigation system is a straightforward process that you can tackle yourself. You’ll start by assessing your yard’s layout and determining the best placement for your system. Your goal is to deliver water directly to the roots of your plants, reducing waste and runoff. With the right materials and a bit of planning, you’ll be able to set up a efficient system that works for you.
Key Takeaways:
To ensure a successful installation of a drip irrigation system, consider the following points:
- Plan the layout of your drip irrigation system carefully, taking into account the size of your garden or lawn, the type of plants you are watering, and the water pressure available.
- Choose the right components, including tubing, emitters, and filters, to ensure a efficient and leak-free system.
- Follow proper installation techniques, such as burying tubing at the correct depth and spacing emitters appropriately, to achieve optimal water distribution and conservation.
Planning
For a successful drip irrigation system, you need to consider your garden’s layout and water requirements. You’ll want to assess your space, noting the types of plants, soil, and climate. This will help you determine the best approach for your system.
Assessing the garden’s water needs
Wetting your plants’ roots consistently is key. You’ll need to evaluate your garden’s water usage, taking into account the type of plants, soil, and climate. This will help you determine the right irrigation schedule.
Choosing the right drip irrigation system
Around your garden, you’ll find various drip irrigation systems. You’ll want to select one that fits your specific needs, considering factors like water pressure and flow rate.
Indeed, choosing the right drip irrigation system can be overwhelming with all the options available. You’ll need to consider the size of your garden, the type of plants you’re watering, and the local water regulations. By taking the time to evaluate these factors, you can select a system that will efficiently water your plants, saving you time and water in the long run.
Materials
Assuming you’re ready to start, you’ll need to gather the necessary materials. You can find a comprehensive list and guide on How to Install Drip Irrigation systems.
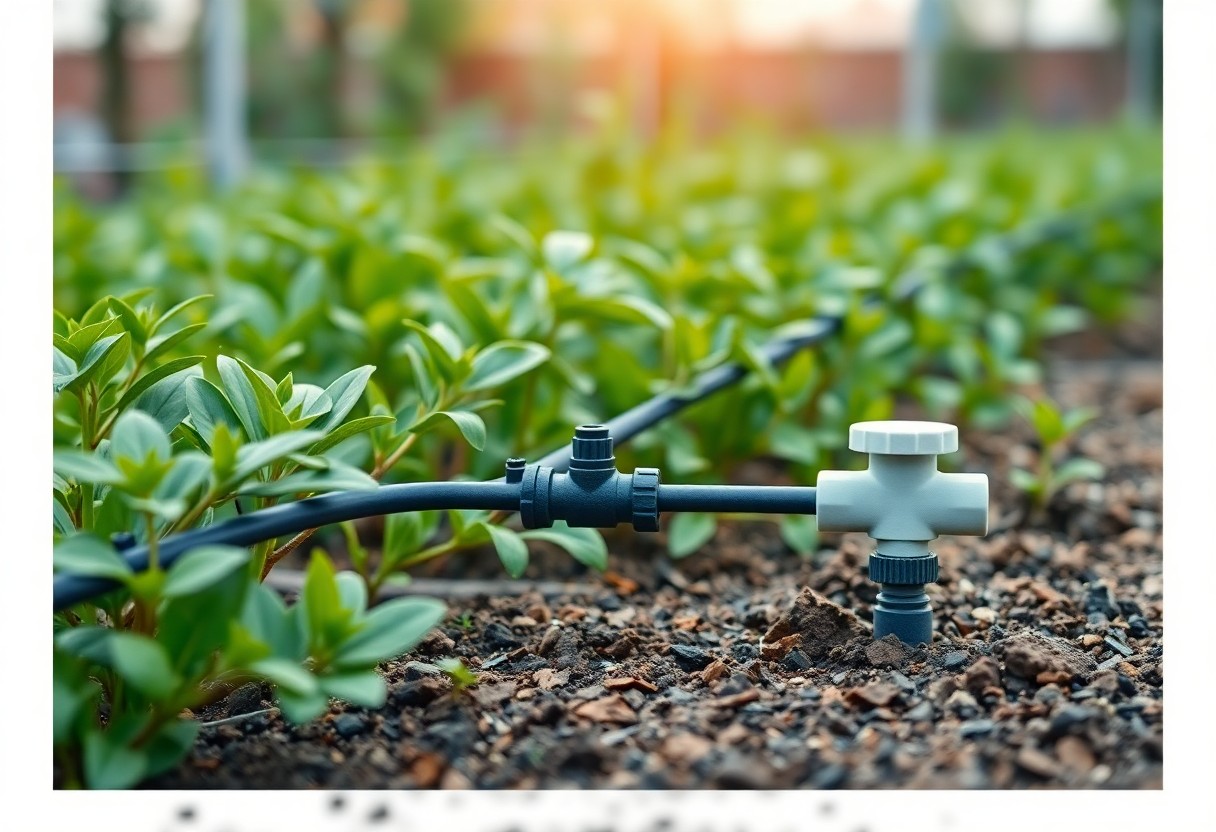
Pipes and fittings
For your drip irrigation system, you’ll need pipes and fittings that fit your landscape’s specific needs, taking into account the size of your garden or yard.
Emitters and filters
Emitters are key components, as they deliver water directly to your plants. You’ll need to choose the right type and size for your system.
To set up your emitters and filters, you’ll need to consider the water pressure and flow rate, ensuring that your plants get the right amount of moisture. You’ll find that the right combination of emitters and filters will help you achieve a efficient irrigation system, tailored to your specific needs, allowing you to water your plants effectively.
Preparation
Now that you’ve decided to install a drip irrigation system, it’s time to get started. You’ll need to assess your garden, taking note of its size, shape, and water requirements.
Measuring and marking the garden
Marking out the boundaries of your garden is the first step. You’ll be identifying areas that need irrigation, taking into account the type of plants and their specific needs.
Digging and laying pipes
Along with your measurements, you’ll begin digging shallow trenches for the pipes, making sure they’re level and evenly spaced to ensure proper water distribution.
To lay the pipes, you’ll need to connect them to the water source and then distribute them throughout the garden, securing them in place with stakes or clips, making sure they’re not twisted or kinked, which could obstruct water flow, and then you’ll be ready to add the drip irrigation emitters.
Installation
Not surprisingly, installing a drip irrigation system is a straightforward process. You’ll need to gather your materials and follow the manufacturer’s instructions. Start by laying out your tubing and fittings, then connect them according to your plan.
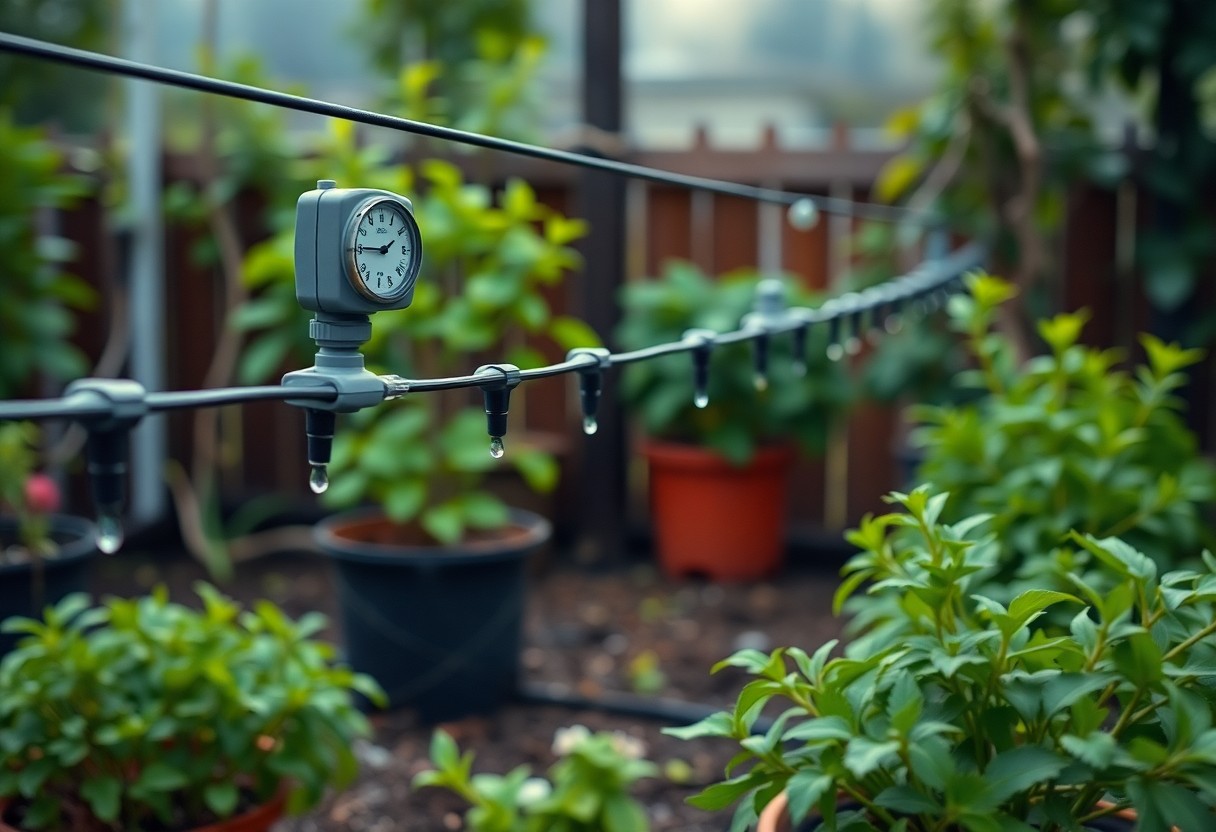
Connecting the system to a water source
Similarly, setting up the system to connect to a water source is easy. You will need to attach the main line to a faucet or hose, making sure it’s secure and leak-free. Your goal is to get water flowing to your plants efficiently.
Installing emitters and filters
Behinding every good drip irrigation system are well-placed emitters and filters. You will place emitters near your plants, spacing them to ensure each plant gets the right amount of water. Filters keep your system running smoothly.
Consequently, as you install emitters and filters, you’re ensuring your plants get the water they need, without wasting a drop. You’ll be amazed at how much healthier your plants will be, and how much water you’ll save, with your new drip irrigation system up and running.
Testing
Despite your best efforts, issues can arise. You’ll need to test your drip irrigation system to ensure it’s working properly. This involves checking for leaks, pressure, and flow rate. You’ll want to identify and fix any problems before they become major issues.
Checking for leaks and pressure
With your system turned on, inspect the tubes and fittings for signs of moisture or water droplets. You’ll need to check the pressure gauge to ensure it’s within the recommended range for your system. This step will help you identify any areas that need attention.
Adjusting the system as needed
Adjusting the system to your specific needs is key. You’ll need to tweak the emitters, tubes, and fittings to achieve the perfect flow rate and pressure. This may involve tightening loose connections or replacing damaged parts.
In addition, you may need to adjust the system’s layout or add more emitters to achieve optimal coverage. You’ll want to consult your system’s manual or manufacturer’s guidelines for specific instructions on making adjustments. As you make these tweaks, you’ll be able to fine-tune your drip irrigation system to deliver the right amount of water to your plants, exactly where they need it.
Maintenance
Keep your drip irrigation system running smoothly by performing regular checks. You can find more detailed information on the installation process at How to Install Drip Irrigation Systems, but for maintenance, focus on the basics.
Regular inspections and cleaning
Inspections of your drip irrigation system should be done frequently to ensure all parts are working correctly. You’ll want to check for clogs, leaks, and damaged tubes, cleaning or replacing them as needed to keep your system efficient.
Troubleshooting common issues
Before you start troubleshooting, identify the source of the issue. You’ll need to check the water pressure, emitters, and tubing for problems.
Considering the complexity of drip irrigation systems, troubleshooting can be challenging. You’ll need to be methodical, checking each component separately to identify the root cause of the problem, whether it’s a clogged emitter or a kinked tube, and then take the appropriate steps to fix it, ensuring your system is working as intended to water your plants effectively.
Final Words
To wrap up, you’ve now got the basics to install a drip irrigation system. You’ve learned to plan, lay out, and connect your system. With your new setup, you’ll save water and your plants will thrive. Your hard work will pay off as you see your garden flourish. You can now enjoy the benefits of efficient watering and a healthier landscape, all thanks to your own hands.
FAQ
Q: What are the basic components of a drip irrigation system and how do they work together?
A: A drip irrigation system consists of a water source, filter, pressure regulator, tubing, emitters, and fittings. The water source supplies water to the system, which is then filtered to remove debris and sediments. The pressure regulator ensures that the water pressure is consistent throughout the system. The tubing carries the water to the emitters, which are placed near the roots of the plants and release water droplets at a slow rate. The fittings connect the various components of the system together, allowing for a customized layout and easy maintenance.
Q: How do I determine the right size of the drip irrigation system for my garden or yard?
A: To determine the right size of the drip irrigation system, you need to calculate the total water requirements of your plants. This depends on factors such as the type of plants, soil type, climate, and the area to be irrigated. You can use an online drip irrigation calculator or consult with a professional to determine the correct flow rate and pressure requirements for your system. Additionally, consider the maximum flow rate of your water source and the maximum pressure that your system can handle.
Q: What are the steps involved in installing a drip irrigation system?
A: The steps involved in installing a drip irrigation system include planning and designing the system, laying out the tubing and emitters, connecting the components, testing the system, and making any necessary adjustments. Start by mapping out your garden or yard and identifying the areas that need irrigation. Lay out the tubing and emitters according to your plan, making sure to space the emitters correctly for optimal water distribution. Connect the components, including the filter, pressure regulator, and fittings, and test the system to ensure it is working properly.
Q: How do I maintain and troubleshoot my drip irrigation system to ensure it continues to work efficiently?
A: Regular maintenance is vital to ensure that your drip irrigation system continues to work efficiently. Check the system regularly for signs of wear and tear, such as cracked or damaged tubing, clogged emitters, or dirty filters. Clean or replace the filters as needed, and inspect the emitters for clogs or mineral buildup. Also, check the system for leaks and make any necessary repairs. If you notice a decrease in water pressure or flow rate, check the pressure regulator and adjust it as needed. Additionally, consider flushing the system periodically to remove any debris or sediment that may have accumulated.
Q: Can I install a drip irrigation system myself, or do I need to hire a professional?
A: While it is possible to install a drip irrigation system yourself, it may be helpful to hire a professional if you are not familiar with the components or the installation process. A professional can help you design and install a system that meets your specific needs and ensures that it is installed correctly. However, if you are comfortable with DIY projects and have a small to medium-sized garden or yard, you can install a drip irrigation system yourself with the help of online tutorials and manufacturer instructions. Be sure to follow all safety precautions and local regulations when installing your system.