As you step into your outdoor space, you want to be transported to a sunny Mediterranean oasis. You envision a garden filled with vibrant colours, enticing scents, and a sense of effortless elegance. With a few simple steps, you can bring the essence of the Mediterranean to your backyard, creating a haven that’s perfect for relaxing and entertaining. Your journey to designing a stunning Mediterranean-inspired garden starts here, and by following these tips, you’ll be well on your way to creating a beautiful and inviting outdoor space.
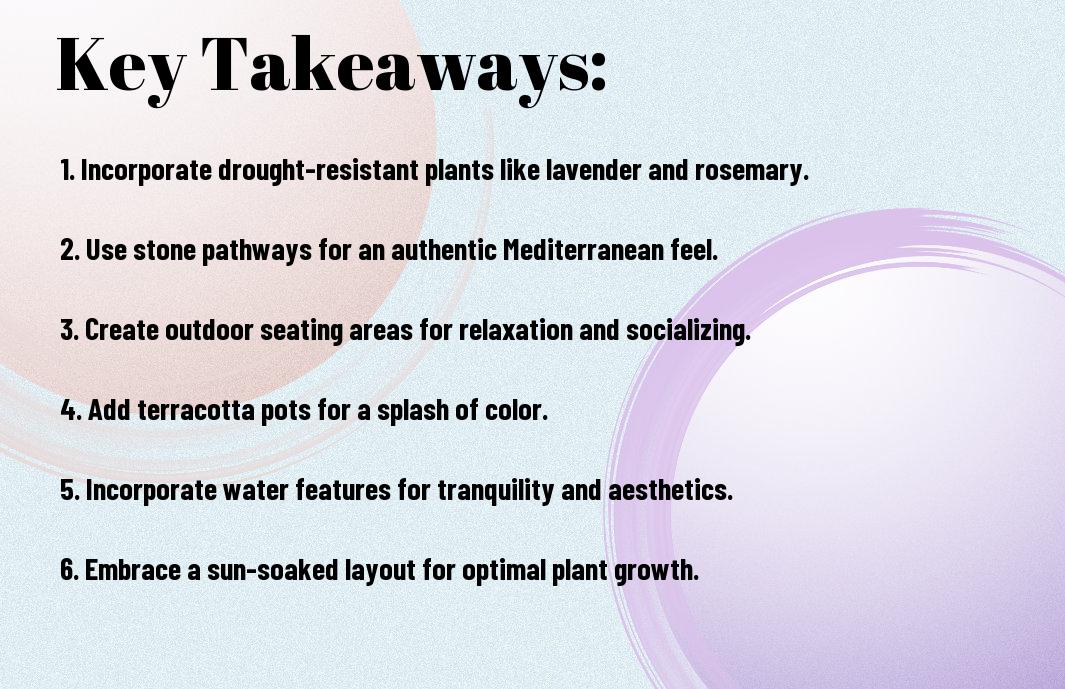
Key Takeaways:
To create a beautiful and inviting Mediterranean-inspired garden, consider the following points:
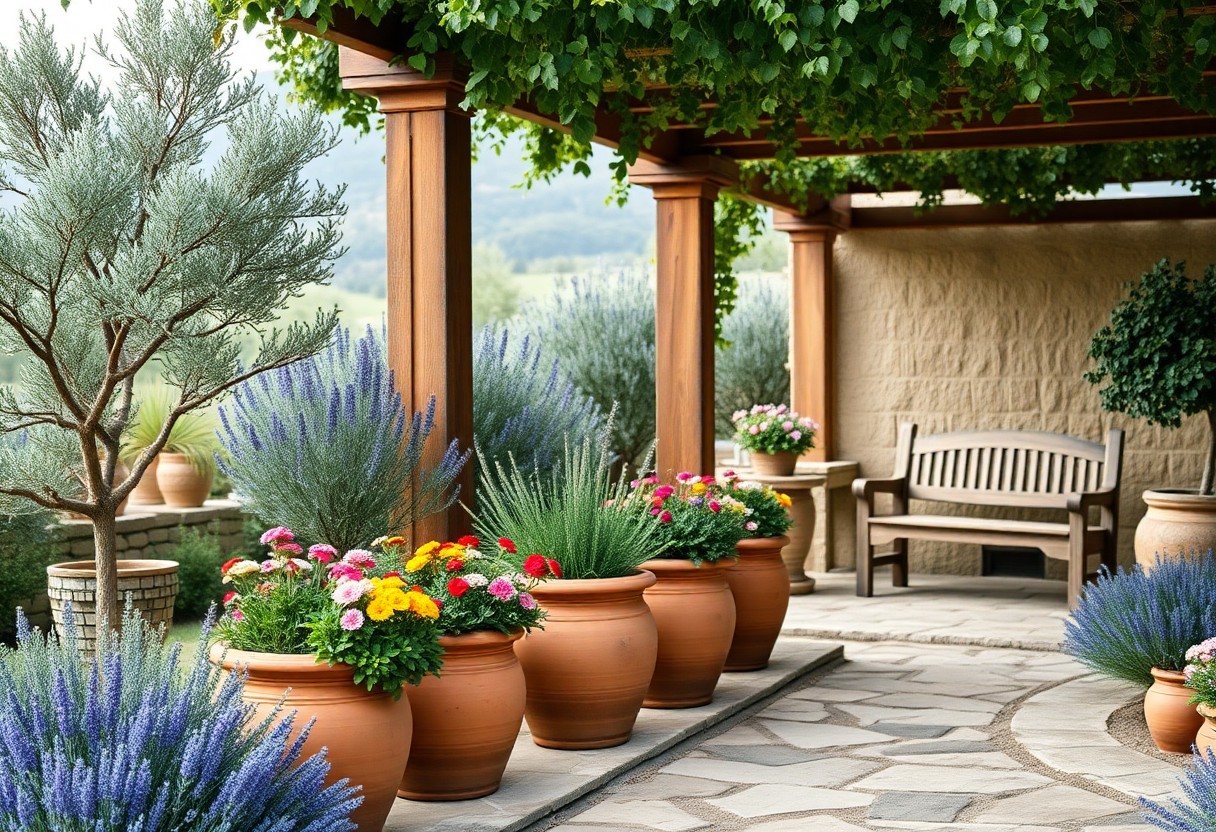
- Choose drought-tolerant plants that are native to the Mediterranean region, such as lavender, rosemary, and olive trees, to minimize watering needs and maintenance.
- Incorporate natural stone elements, like flagstones, gravel, or brick, to add warmth and texture to the garden, and to create a sense of authenticity.
- Emphasize simple and clean lines in your garden design, using terracotta pots, weathered wood, and other traditional Mediterranean materials to create a sense of timeless elegance.
Planning Your Garden
The first step in designing a Mediterranean-inspired garden is to plan carefully. You’ll need to consider the unique conditions of your outdoor space and how you want to use it. Take time to think about the style and atmosphere you want to create, and make a note of any existing features that you want to incorporate or change.
Assessing Your Climate and Soil
Your yard’s specific climate and soil type will play a significant role in determining the types of plants you can grow. You’ll need to evaluate the amount of sunlight and rainfall your garden receives, as well as the type of soil you have, to choose plants that will thrive in those conditions.
Choosing a Color Scheme and Theme
Color is a key element in a Mediterranean-inspired garden, and you’ll want to choose a palette that evokes the warm, sunny feel of the region. You can draw inspiration from the colors of the Mediterranean landscape, such as terracotta, turquoise, and olive green.
Understanding the importance of a cohesive color scheme and theme will help you create a beautiful and harmonious Mediterranean-inspired garden. You can choose a theme, such as a Spanish courtyard or a Greek villa, to guide your design decisions and help you select plants, furniture, and decorative elements that fit with your vision. As you consider your color scheme and theme, think about the overall mood and atmosphere you want to create in your garden, and let that guide your choices.
Selecting Plants
Now that you have a sense of the overall aesthetic you want to achieve, it’s time to think about the plants that will bring your Mediterranean-inspired garden to life. You’ll want to choose plants that thrive in warm, sunny conditions and can tolerate dry spells.
Native Mediterranean Plants to Consider
One of the best ways to create an authentic Mediterranean feel is to incorporate plants native to the region, such as olive trees, rosemary, and lavender, into your garden design.
By opting for drought-tolerant plants like succulents and cacti, you can create a beautiful and low-maintenance garden that requires minimal watering and care.
But as you consider your drought-tolerant options, think about the specific conditions in your garden and choose plants that will thrive in your local climate. You can also combine drought-tolerant plants with other Mediterranean natives to create a unique and resilient garden that reflects your personal style and meets your needs.
Garden Layout and Design
Your Mediterranean-inspired garden should reflect the classic, timeless style of the region, with a focus on simplicity, elegance, and a connection to nature.
Creating a Sense of Intimacy and Seclusion
Seclusion is key to a Mediterranean-inspired garden, and you can achieve this by using lush greenery, tall trees, and meandering paths to create cozy nooks and secluded areas.
Incorporating Water Features and Hardscapes
Above all, a Mediterranean-inspired garden is about balancing natural beauty with structured elements, and you can achieve this by incorporating water features, such as fountains or pools, alongside hardscapes like terracotta tiles and stone walls.
For instance, you can create a stunning water feature by installing a small fountain or pond, surrounded by lush greenery and colorful flowers, and complement it with a meandering path made of natural stone, leading to a secluded seating area, perfect for relaxation and contemplation.
Hardscaping and Decor
All the elements in your Mediterranean-inspired garden should work together in harmony, and you can find great inspiration on How to create a Mediterranean garden: design inspiration.
Choosing Materials and Textures
For a authentic look, you will want to choose materials and textures that evoke the feeling of the Mediterranean, such as terracotta pots and weathered stone.
Adding Lighting and Other Decorative Elements
To complete your garden, consider adding softly glowing lanterns and decorative elements like fretwork and mosaics.
Plus, as you add these decorative elements, you will start to see your Mediterranean-inspired garden come to life, and you can enjoy the warm and inviting atmosphere you have created, perfect for relaxing and entertaining in your own outdoor oasis, with you making the final touches to reflect your personal style.
Maintenance and Upkeep
Unlike other garden styles, a Mediterranean-inspired garden is relatively low-maintenance, but you can learn more about it in How To Design a Mediterranean Garden Your Clients Will Love.
Tips for Watering and Pruning
The key to keeping your garden thriving is proper care. You should:
, Thou shalt also monitor your garden’s condition.
Managing Pests and Diseases in Your Garden
Maintenance of your garden’s health involves checking for pests and diseases.
And by taking preventative measures, you can minimize the risk of infection, ensuring your Mediterranean-inspired garden remains a haven of beauty and tranquility, where you can relax and enjoy the fruits of your labor.
Incorporating Lifestyle Elements
After designing the basic layout of your Mediterranean-inspired garden, consider incorporating lifestyle elements that will make it a true oasis. You can find plenty of Mediterranean Garden Ideas and Inspiration on Mediterranean Garden Ideas and Inspiration to help you get started.
Designing Outdoor Living Spaces
On a warm summer evening, you’ll want to spend time outdoors, so think about designing a space that invites relaxation and entertainment. You can create a shaded seating area or a sunny spot for lounging, depending on your preferences.
Adding Fire Pits and Outdoor Kitchens
Behind every great Mediterranean-inspired garden is a functional outdoor space that allows you to enjoy the fresh air and company of loved ones. Consider adding a fire pit or outdoor kitchen to create a cozy atmosphere.
Outdoor living is a big part of the Mediterranean lifestyle, and adding fire pits and outdoor kitchens can help you achieve this. You can use these features to cook delicious meals, gather with friends and family, or simply enjoy a quiet evening under the stars. As you design your outdoor space, think about how you want to use it and what features will make it most enjoyable for you.
Conclusion
Taking this into account, you should now be able to create your own serene Mediterranean-inspired garden. With your careful planning and attention to detail, your outdoor space will evoke the warmth and beauty of the Mediterranean region. As you sit amidst your lush greenery and vibrant flowers, you’ll feel transported to a tranquil oasis, enjoying the fruits of your labor in your very own Mediterranean haven, surrounded by the sights, scents, and sounds of your carefully designed garden.
FAQ
Q: What are the key elements of a Mediterranean-inspired garden?
A: A Mediterranean-inspired garden typically features a combination of elements such as terracotta pots, olive trees, rosemary, and lavender. The color palette often includes warm, sun-baked hues like terracotta, sienna, and golden yellow. Incorporating natural stone, such as limestone or fieldstone, and using drought-resistant plants are also characteristic of this style. To create an authentic look, consider adding decorative elements like vintage doors, windows, or mosaic tiles.
Q: How do I choose the right plants for a Mediterranean-inspired garden?
A: Selecting plants that are native to the Mediterranean region or have similar growing conditions is necessary. Consider plants like bougainvillea, jasmine, and citrus trees, which thrive in warm, sunny climates. Succulents and cacti are also excellent choices, as they are drought-tolerant and add interesting textures to the garden. Don’t forget to incorporate fragrant herbs like thyme, oregano, and rosemary, which are not only beautiful but also edible.
Q: What type of paving and flooring is suitable for a Mediterranean-inspired garden?
A: Natural stone paving, such as limestone, travertine, or flagstone, is a popular choice for Mediterranean-inspired gardens. These materials are durable, timeless, and blend seamlessly with the surrounding landscape. If you prefer a more rustic look, consider using gravel or decomposed granite as an alternative. For a more polished appearance, terracotta or brick pavers can add a touch of elegance to the garden.
Q: How can I incorporate water features into my Mediterranean-inspired garden?
A: Water features are a staple of Mediterranean-inspired gardens, and can range from small, self-contained fountains to large, Infinity-edge pools. Consider adding a small fountain or birdbath to create a soothing, melodic sound. If you have the space, a larger pool or spa can be a stunning focal point, especially when surrounded by lush greenery and colorful flowers. Don’t forget to incorporate a few strategically placed water features, like a small rill or bubbling pot, to add visual interest and create a sense of movement.
Q: What kind of outdoor lighting is best suited for a Mediterranean-inspired garden?
A: Warm, soft lighting is necessary for creating a cozy and inviting ambiance in a Mediterranean-inspired garden. Consider using string lights, lanterns, or tabletop torches to add a warm glow to the space. Solar-powered lights are also a great option, as they are energy-efficient and can be placed throughout the garden without the need for wiring. For a more dramatic effect, use uplighting to highlight specific plants or features, such as a statement tree or a decorative wall.